This post contains affiliate links. If you choose to purchase I will receive a small commission at no extra cost to you. I use the funds to buy yarn and make more free patterns! I greatly appreciate your support. For more info please see my Terms & Conditions. Thank You!
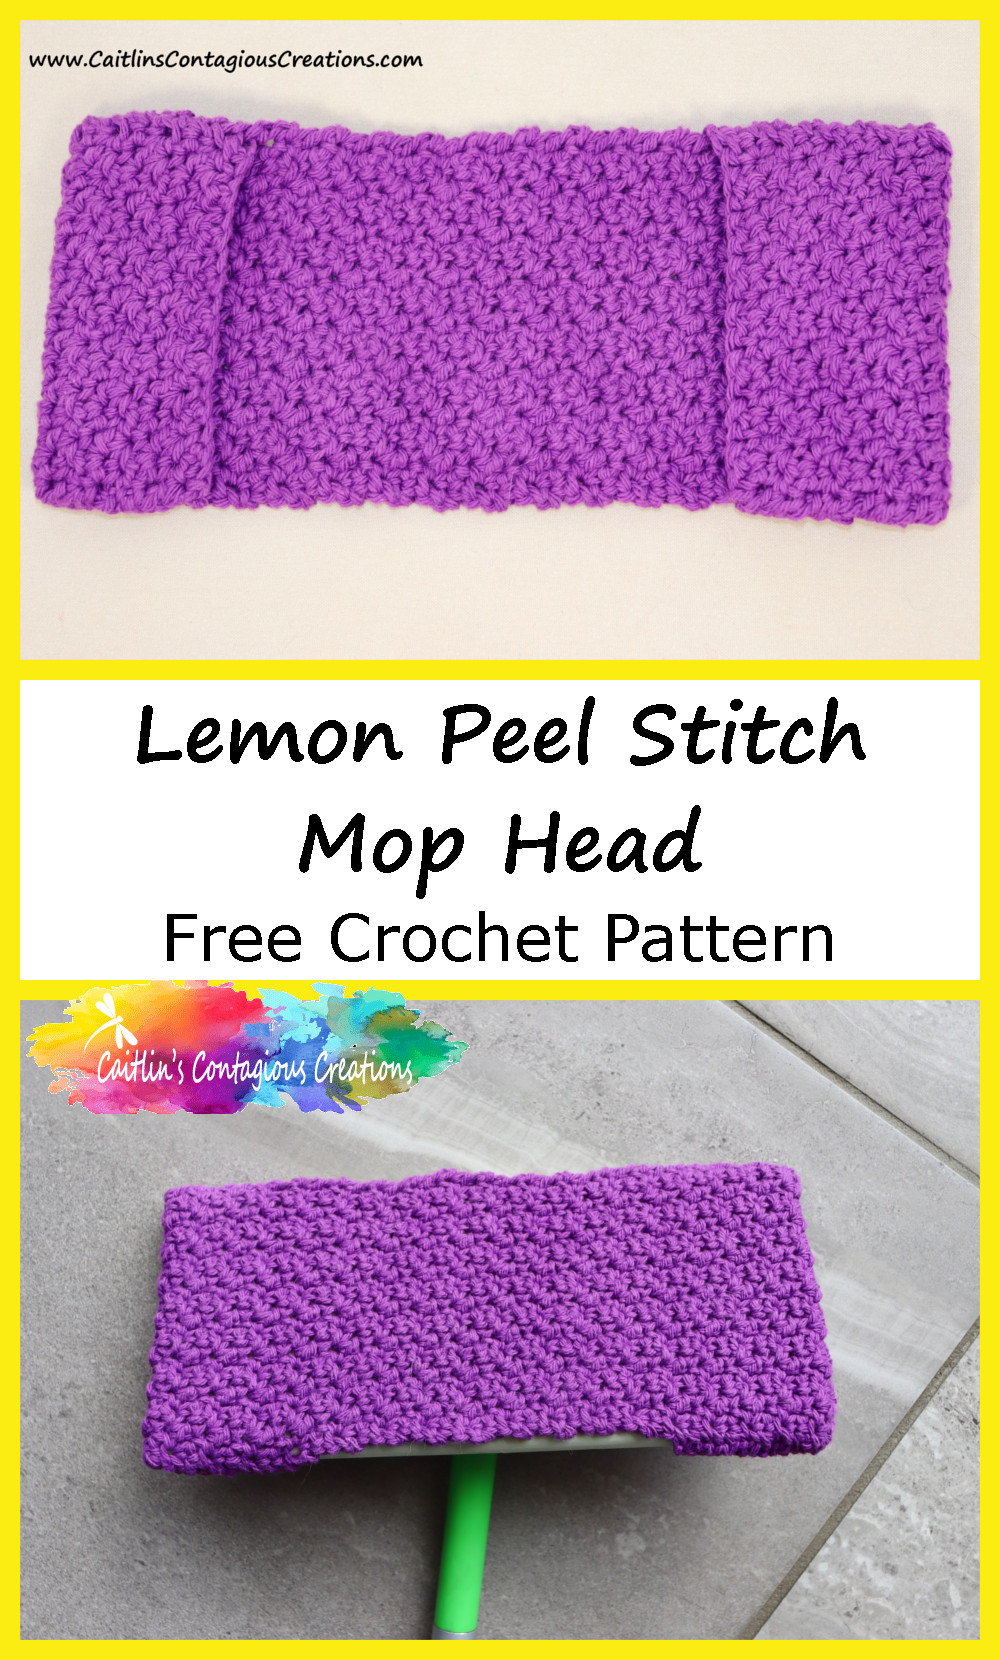
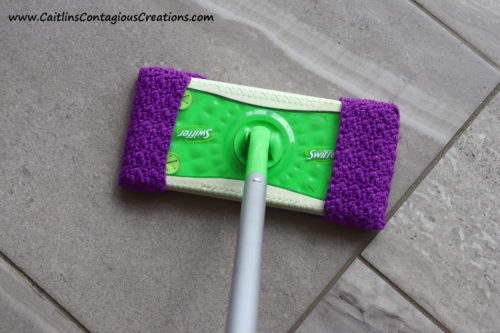
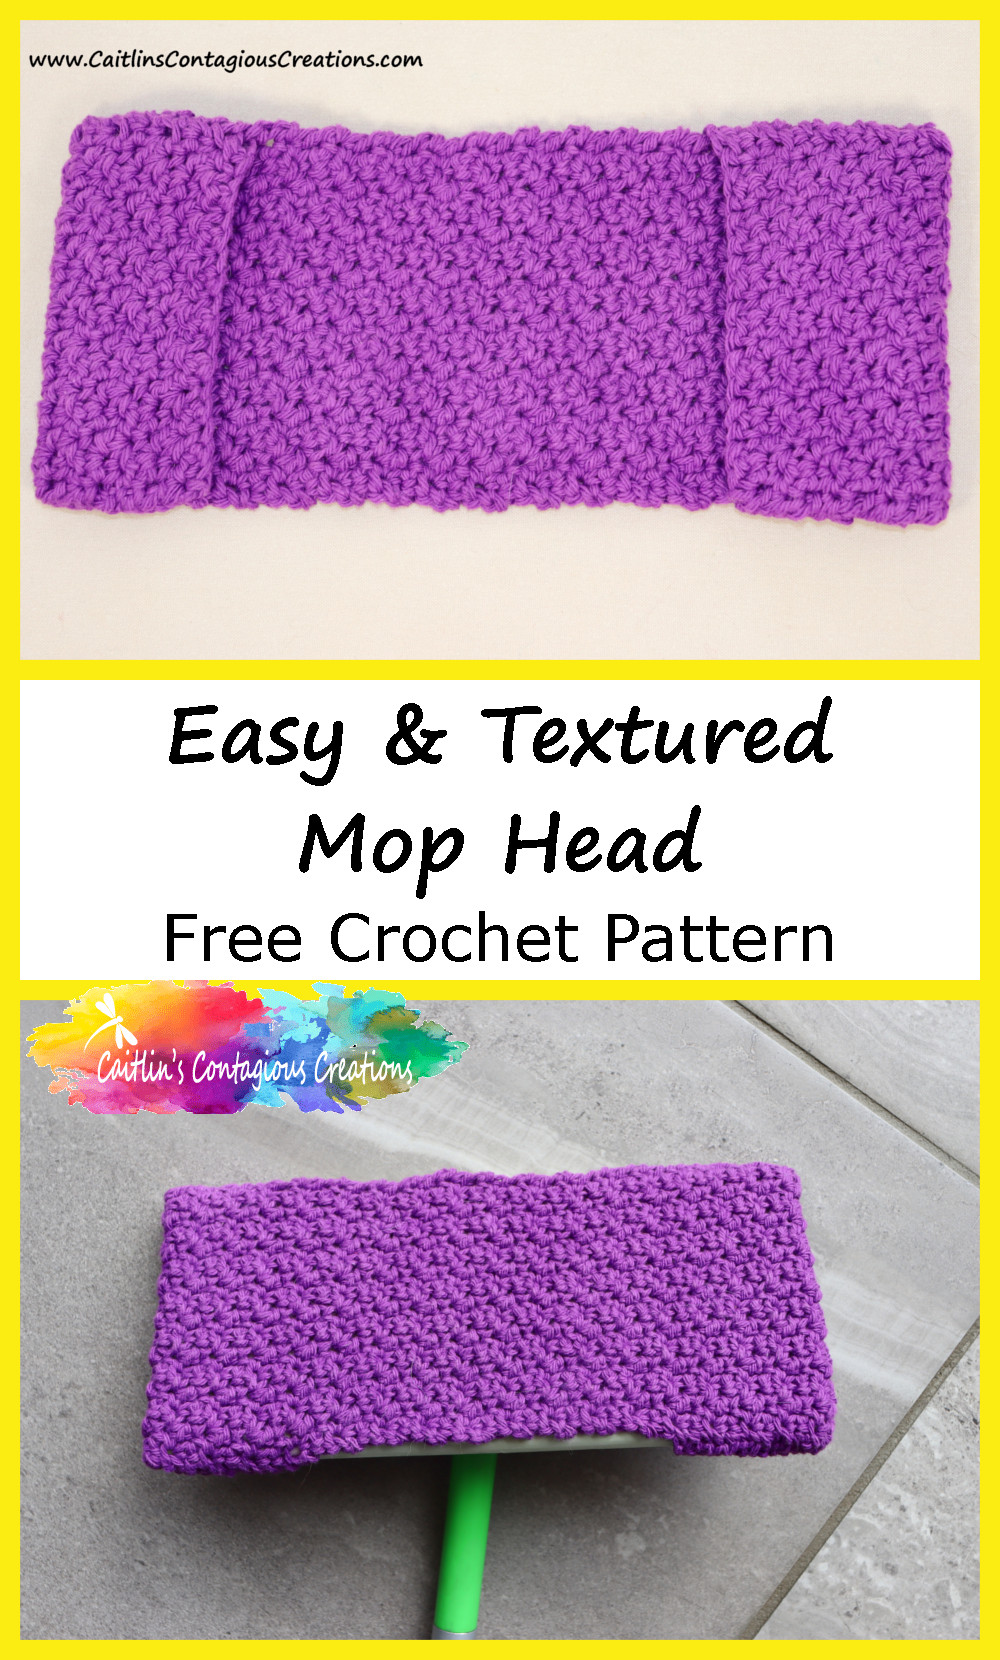
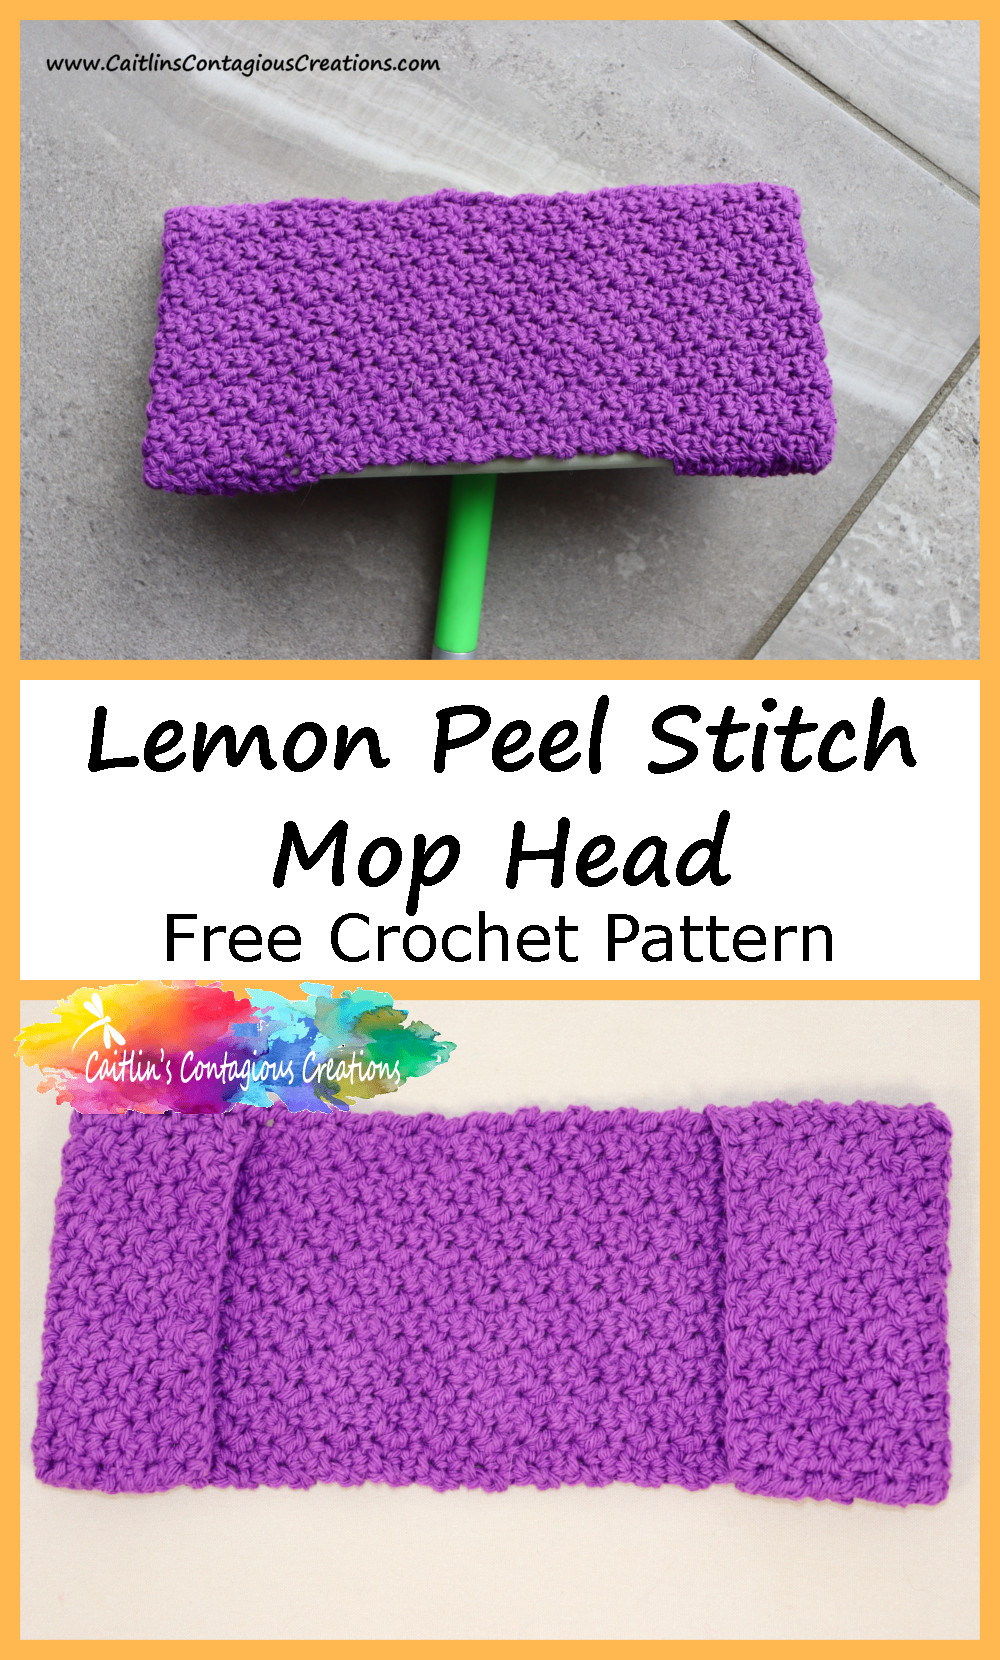
The free lemon peel mop head crochet pattern is great for cleaning and staying green! It is machine washable, reusable, and eco friendly! The textured surface is great for picking up dirt and the easy stitch combo of the lemon peel stitch is fun, quick, and easy.
Why a Lemon Peel Mop Head?
With all the tile I have in my home, it makes sense to have lots of mop heads! I like to be able to reuse them… it saves money and I feel better about my carbon footprint. The amazing texture of the lemon peel stitch makes it a no brainer to use this stitch for a mop head cover.
A mop head pad is a great way to practice a new stitch and make something useful at the same time! Want some extra help with the lemon peel stitch? Get informed with my free lemon peel stitch tutorial
About The Yarn
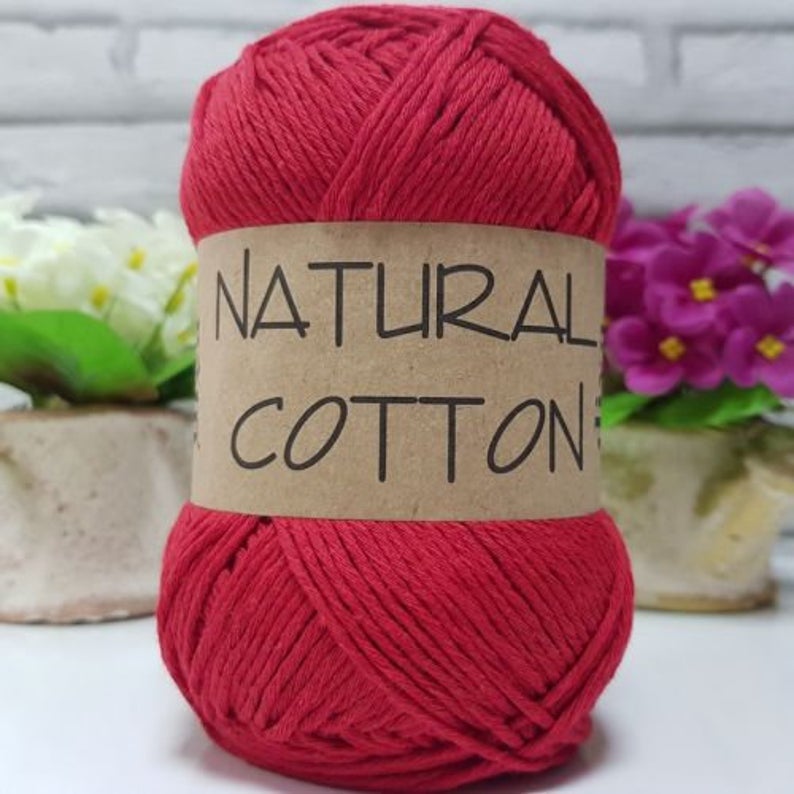
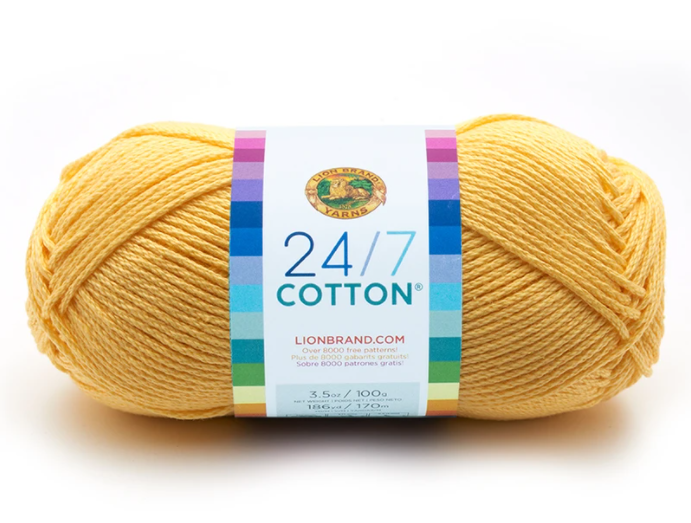
For this pattern, I used Sugar and Cream. It is a worsted weight (#4) yarn made of cotton.
It is important to use cotton for a mop head pattern (not just this one) because it is absorbent, durable, and machine washable. I have found that using acrylic yarn does a poor job cleaning.
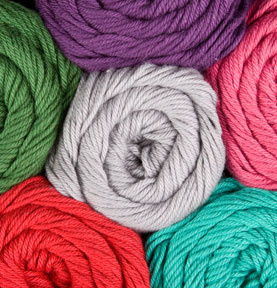
These yarns could be appropriate substitutes
About The Hook
The lemon peel mop head is made with a size H8/5.5 mm crochet hook. This was the size hook recommended by the yarn I used. I wouldn’t recommend using a different sized hook unless your gauge swatch indicates you should. The completed size of the project is important to ensure it will fit on your mop head. 🙂
I used my Susan Bates in-line crochet hook with a polymer clay handle attached. The shop on Etsy where I got mine, also has Boyle hooks if you prefer a tapered style. Not sure what the difference is?
Check Out My Guide to Hooks to learn more!
I enjoy this hook because even though the clay handle isn’t ergonomic it makes working much easier on my hand – and it looks pretty too!!

Lemon Peel Mop Head Pattern Notes
Skill Level
Beginner+/Easy
Stitches & Abbreviations
Finished Size
15 inches long by 4.5 inches wide (before folding)
10 inches long by 4.5 inches wide (after folding)
Gauge
15 sts x 13 rows = 4 inches square
Materials Needed
- 75 yards #4 cotton worsted yarn
- Size H8/ 5.5 mm crochet hook
- Stitch markers
- Yarn needle and scissors
Pattern Notes
- It is important to ensure your piece ends up the correct measurement – if not, it will not fit on the mop head correctly.
- The finished measurements are more important than exact gauge.
- Leave a long tail when starting and ending the project. Use the tail to sew the ends into pockets so you have fewer tails to weave in when finished
- The starting chain represents the width of the pattern, the rows are worked along the length.
- The lemon peel stitch is made of SCs and DCs. Single crochet stitches are made into the tops of double crochet stitches from the previous row. Double crochet stitches are made into the tops of single crochet stitches from the previous row.
- Use a stitch marker when folding so you know where to sew. This will help ensure proper proportions.


Lemon Peel Mop Head Pattern Directions
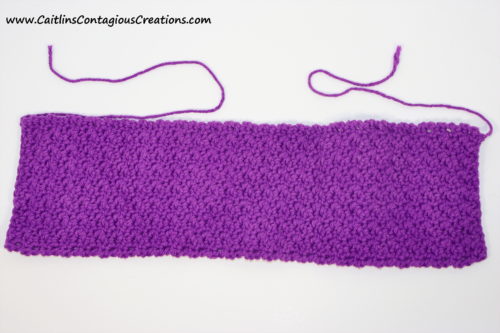
Row 1. Leaving a long starting tail, chain 17.
Row 2. Turn. SC in second chain from hook. DC in next st. *SC in st. DC in next st. Repeat from * across. (16 sts)
Row 3. Ch 1 and turn. *SC in st. DC in next st. Repeat from * across. (16 sts)
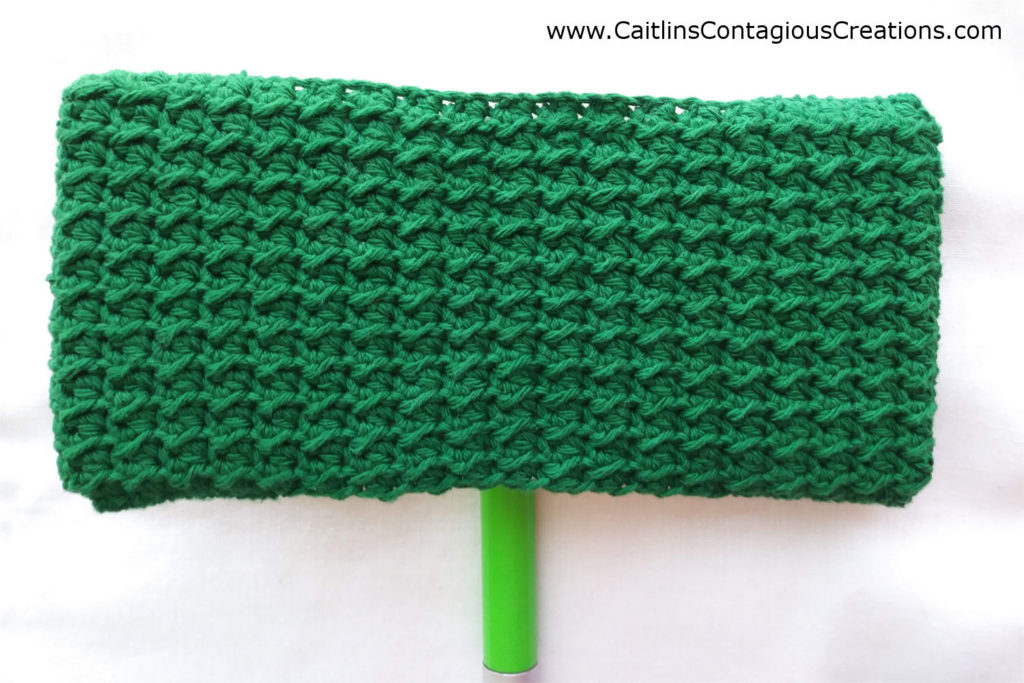
Row 4. – 51. Repeat row 3. Your rectangle should measure 4.5” by 15”.
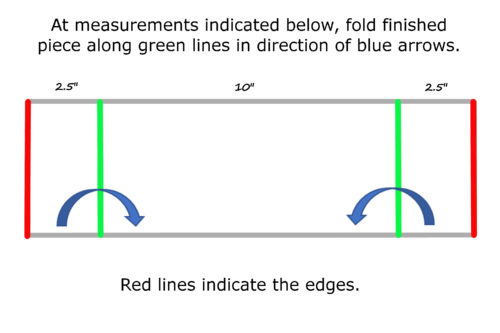
Once rectangle for your lemon peel mop head is the appropriate size, fold (along the green line above) each end (in red above) up 2.5 inches.
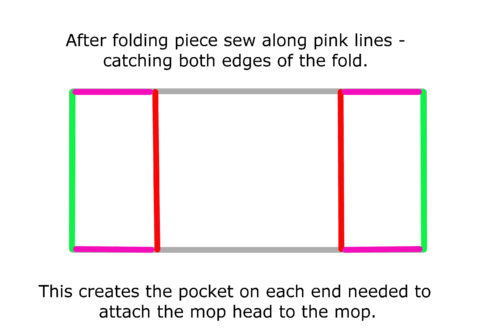
Your goal is to create two pockets to put the project on the mop head. Sew the side up (in pink below), use stitch markers to help keep the stopping point.
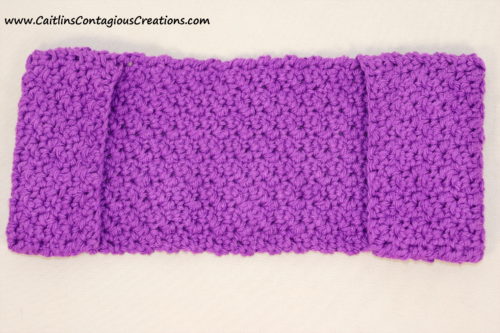
You Are Done!!
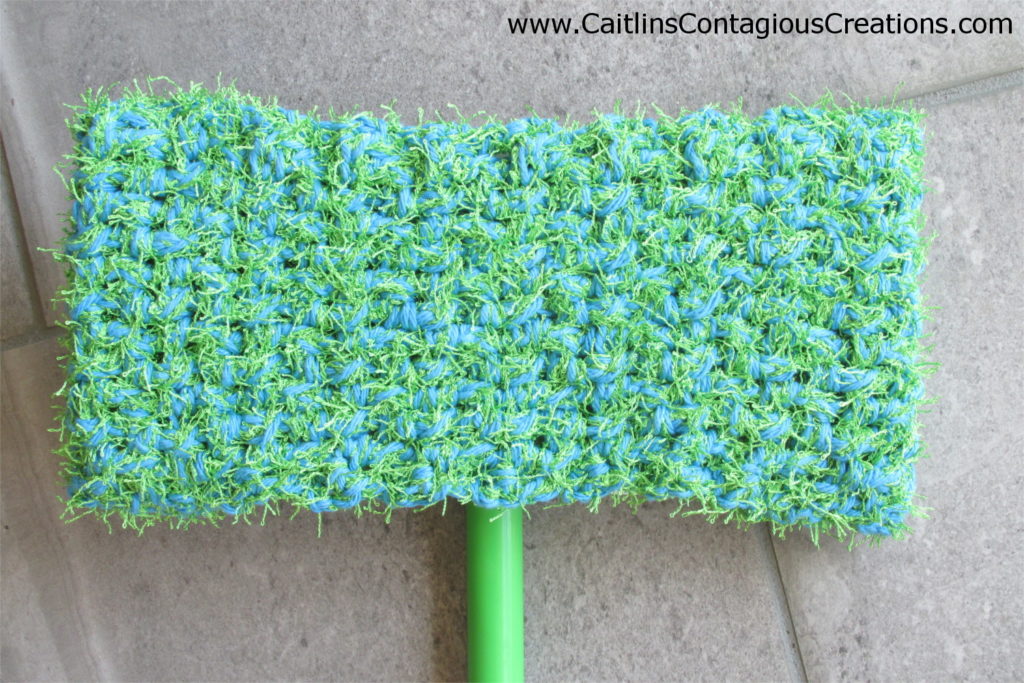
Get to cleaning!! You may have to stretch the lemon peel mop head a bit to get it on, but you want it that way so it stays on. I recommend cleaning it regularly by placing it in the washer (assuming you’ve used cotton, wash safe yarn).
What’s Next?
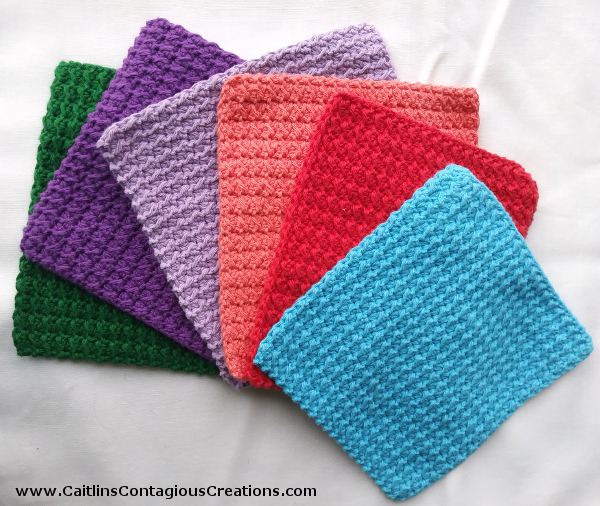
Check Out These Similar Patterns!!
Happy Hookin’

I am so thankful n blessed that Leo is here n doing well.Please tell little sister thanks for being a big sister. Thanks for sharing all ur beautiful creations of crochet with us.
Blessings I pray over ur family in Jesus name Amen 🙏🏿
Martha, Thank you for your beautiful comment! I will share your love with Linda and Leo <3 Have a great day!! ~Caitlin
Thanks for sharing the pattern for the mop head.